Temple webpage header
the pad being prepared (in 1994)

Preparing the Ground

Middle Path did not have a square foot of level ground when we became it's caretakers and so we had to create every flat space and path from scratch.
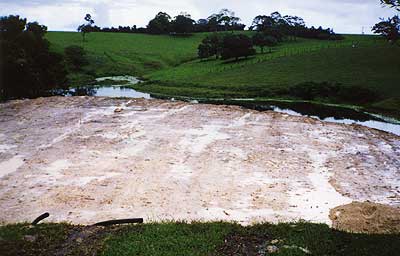
There was only one place which was large enough to accommodate a building and so it was leveled and services (road, water, power and phone) brought to it underground.

We were aware that we were working with a sacred site from the outset which made us cautious about carving such a large space out of the hillside but


The pad is ready

The pad was a rather muddy goo of white clay when it rained and was very enthusiastic about sharing itself with any feet that came in contact with it.

the house pad looking towards the east
"the house pad looking towards the east


the centre of the building

Laying out the footings

Octagons are not, it turns out, nearly as straightforward to lay out with precision as rectangles.
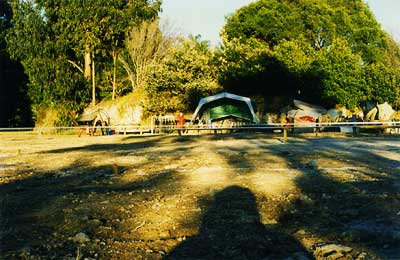
We had the corners roughly in place within a couple of hours - it took us another 6 hours of adjustments before the diagonals all intersected in the same place.


Creature comforts

Subsequent investigations revealed that the recommended technique is to set out 2 rectangles at right-angles.

Here is the site office - not quite weather-proof - but it served us well for 18 months.

the site office as seen behind the string-lines defining the buildings foundations
The site office and string lines


the foundations laid out for the excavator

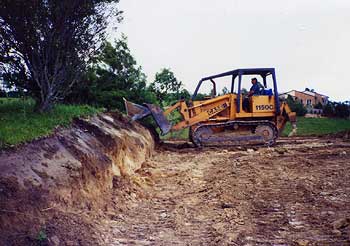
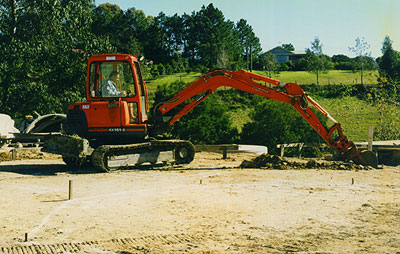
Getting ready to dig

We marked out the lines for the footings with lime and cleared the area for the excavator and petitioned the Building Gods for fine weather.


Breaking Ground

Alan Newcombe who had carved the pathways with his bobcat in the beginning, had by now acquired an excavator and we were delighted to have his help to start the work.

breaking ground
breaking ground


cleaning the trenches

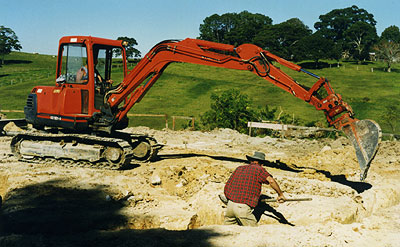
Digging the footings

The excavator made short work of removing the soil but the ground was so chalky in areas that the walls had little staying power and we were constantly cleaning out wall-falls.


Trenches complete

The layout was such that the excavator couldn't leave without traversing the trenches and once again, we were at pains to repair the collapse of some sections.
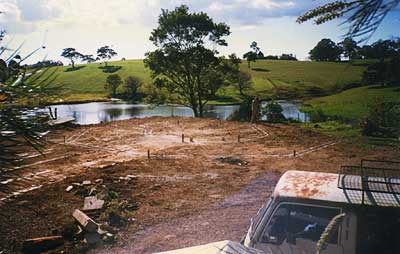
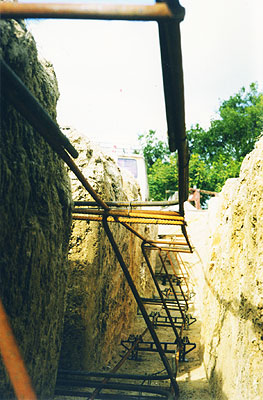
We eventually used some gyprock sections from waste busters to shore up the worst collapses .

The footing trenches completed


The trenches completed and ready for the reinforcing
ready for the reinforcing steel

Ready for the rebar

This is what the site looked like with the trenches completed and the profiles restored.

That's Norman in the trench.


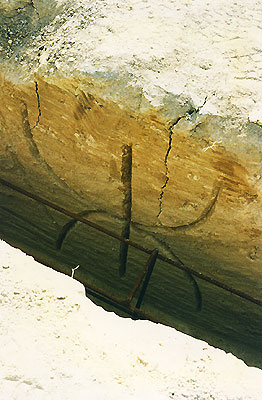
“Decorating” the footings

The soil is a unique white clay with rich multi-coloured veins and proved a wonderful material for carving.
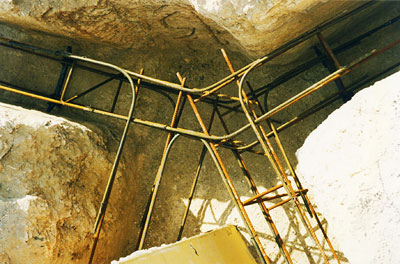
It was a joy to add some special touches below-ground by carving symbols into the walls of the trenches.

The building inspector was somewhat nonplussed about these but obviously couldn't see any real objection and was content with my explanation that “I liked to decorate my building”.

One of the symbols (for abundance) which were carved into the walls of the footings


the z-beams in place and tied together
z-beams in place and tied together

Adding the rebar

Getting the reinforcing steel in place was a bloody process - working down in the trenches with tie-wire which seemed to delight in puncturing any piece of skin which came within range.

Eventually it was done and perfected to the exact specifications in the approved plans - we felt quite pleased with the result.

The first building inspection was now due - to approve the footings dimensions and reinforcement.

I was shocked when the building inspector told me he wanted extra steel added at the corners (those bent bits you can see wired to the beams below).

Despite agreeing that we had done the work exactly as specified and approved by council - he “wasn't going to approve it unless we did what he wanted”.


“I don't care - I want”

He wouldn't explain why he thought they were necessary or what benefits they would provide, just that we either do what he wanted or the building would not ever get the council's seal of approval and therefore be uninsurable and unsellable.
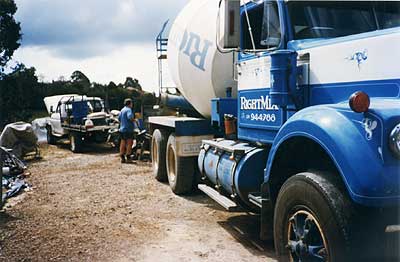
We later learned that the council “liked to put owner-builders in their place” at the first inspection.

Getting the bent sections down into the trenches and tied-in was a serious challenge and shed more blood.

the extra corner bars

the concrete pumping setup

The concrete pump

It looked a daunting task to deliver the concrete by wheelbarrow - there was just so much space to fill.

The decision to use a concrete pump was an excellent one and several truckloads of concrete was deftly placed in the holes


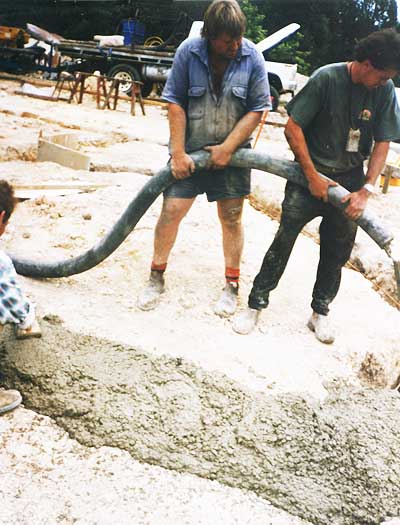
Pouring the Footings

My main task during this process was making sure that the many crystals I wanted to use to integrate the building with the sacred energy of the site were in their proper places.

This meant I have to hold them in place - with my head in the trench and arm outstretched waiting for the wall of approaching concrete to engulf the crystal (and my arm) before getting out of the way of the advancing grey wall.

Only once did it seem that I would become a permanent addition to the footings.

pouring the footings


frantically reinforcing the gyprock walls

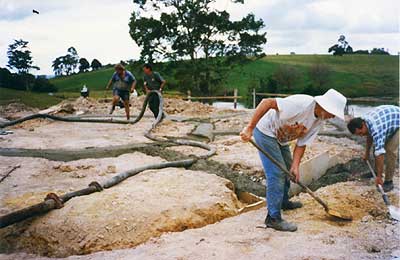
The trenches revisited

Some of the areas which were formed with gyprock showed a reluctance to resist the liquid mass of concrete and we spent some frantic moments shoveling earth behind them to prevent the cement oozing into places we would rather it didn't.


At last we were ready to commence the concrete dwarf walls.


The Tour
go  to previous page back
to the
start
  go to top of this page
top
of this
page
  go to home page
home page
  next
is the
dwarf walls
go to the next page on the tour
return to top return to top of this page return to top